Creating your own metal smoking pipe combines function, craftsmanship, and personal expression. Whether you’re a seasoned smoker or new to pipe-making, learning how to build a metal smoking pipe offers a rewarding experience that results in a unique, durable, and fully customized piece.
Why build a metal smoking pipe?
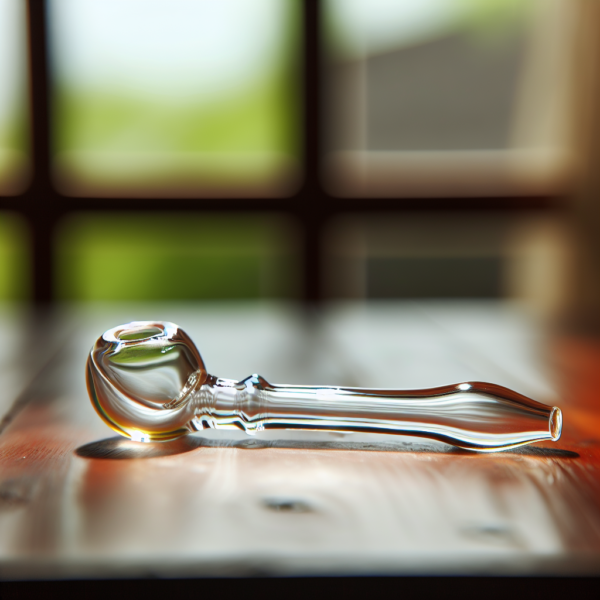
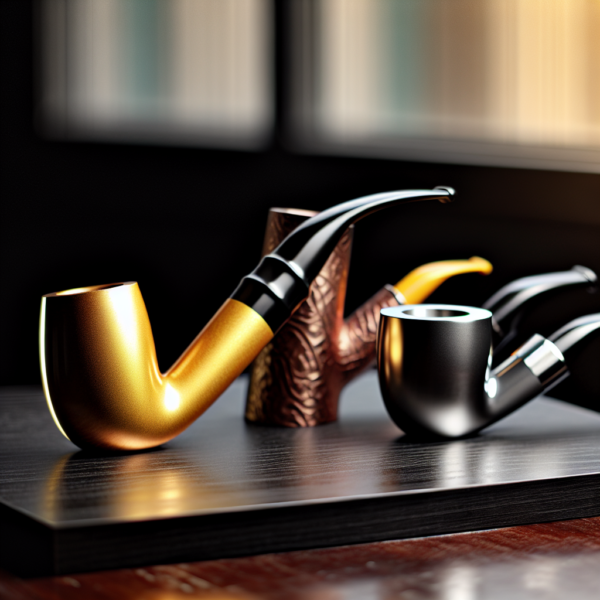
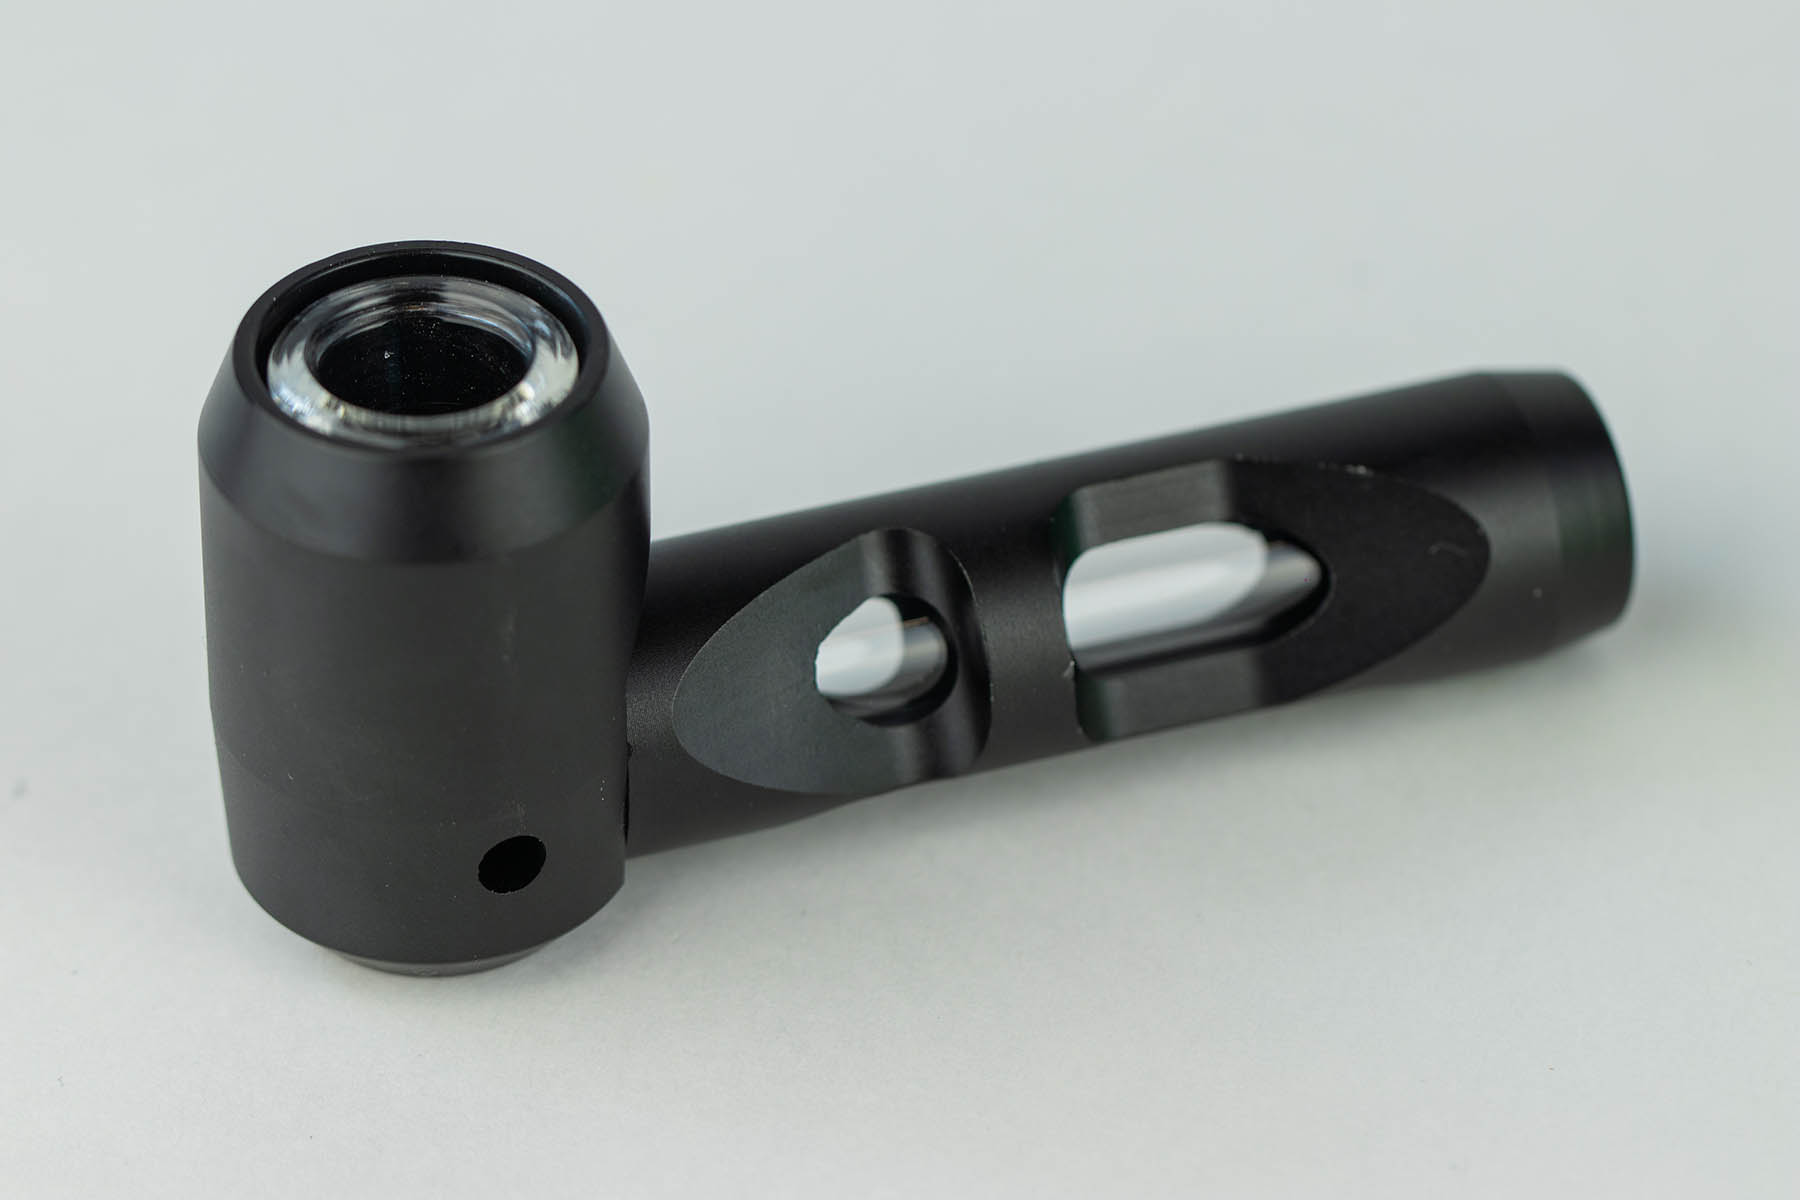
Metal pipes are long-lasting, easy to clean, and resistant to cracking or burning. They also deliver a neutral flavor, unlike wooden or clay pipes that can influence the taste of your tobacco. Best of all, metal allows for modern, eye-catching designs with precise airflow and heat control.
For DIY enthusiasts, building a pipe from scratch adds a level of satisfaction and personalization that store-bought pipes just can’t match.
What you need: tools and materials
Before you start building, gather these essential items:
Materials
-
Pipe bowl – Usually stainless steel or brass, designed to handle high heat
-
Metal stem – A straight or bent piece that connects the bowl to the mouthpiece
-
Mouthpiece – Can be metal, rubber, or silicone for comfort
-
Screen – Prevents ash or debris from being inhaled
-
Fasteners – Screws or magnetic connectors for easy assembly
Tools
-
Pipe cutter or metal saw – To trim the stem to the right length
-
Drill – For airflow holes in the bowl or stem
-
Metal file and sandpaper – For smoothing sharp edges and rough spots
-
Pliers and screwdrivers – For securing and aligning components
How to build a metal smoking pipe
Follow these steps to craft a pipe that’s both functional and stylish:
1. Sketch your design
Start with a simple drawing. Decide how long you want the stem, how deep the bowl should be, and whether your pipe will be straight or angled.
2. Prepare the bowl
Drill a hole in the bottom of your bowl for the stem to fit. Sand any sharp edges and make sure the airflow hole is smooth and clean.
3. Cut the stem
Use your pipe cutter or saw to create a stem to your desired length. Make sure one end fits snugly into the bowl and the other connects cleanly to the mouthpiece.
4. Assemble the parts
Secure the bowl and stem using screws, a tight press-fit, or magnets. Make sure there are no gaps in the connection.
5. Insert the screen
Place a metal screen at the base of the bowl to keep ash and fine tobacco out of the stem.
6. Attach the mouthpiece
Press or screw the mouthpiece into place. Choose a material that’s comfortable for longer sessions and easy to clean.
Stay safe while building
-
Use only safe materials – Avoid metals that contain lead or harmful coatings.
-
Work in a ventilated area – Drilling and sanding metal can produce dust or fumes.
-
Wear gloves and eye protection – Protect your hands and eyes from sharp parts and flying debris.
Maintenance tips for your metal pipe
Regular maintenance will help preserve the performance and appearance of your pipe.
-
Clean the stem and bowl after each use to prevent residue buildup.
-
Use a soft brush or pipe cleaner to reach tight areas.
-
Avoid harsh chemicals; warm water and a mild cleanser usually work best.
Customize your creation
The best part of building your own pipe is making it truly yours. Add personal flair by:
-
Engraving initials or symbols into the metal
-
Combining different metals for a two-tone finish
-
Adding inlays or decorative accents
-
Experimenting with bent stems or modular mouthpieces
Craft, smoke, and enjoy
Learning how to build a metal smoking pipe opens the door to creative expression and hands-on satisfaction. Whether you’re crafting your first or your fifth, each piece becomes part of your personal smoking ritual. With proper care and thoughtful design, your DIY pipe will serve you for years to come.
Interested in more smoking projects? Check out the Metal Smoking Pipe Parts: Understanding the Basics for DIY Enthusiasts to learn how each part functions and how you can customize even further.