Learning how to pack a bowl is one of the most essential skills in pipe smoking. Done properly, it ensures a smooth draw, even burn, and a satisfying flavor. If you pack it too tightly, you’ll struggle to puff. Too loosely, and your pipe won’t stay lit. Mastering the right technique brings balance—and enjoyment—to every bowl.
Whether you’re a total beginner or just brushing up on technique, this step-by-step guide will help you get the most out of every smoke.
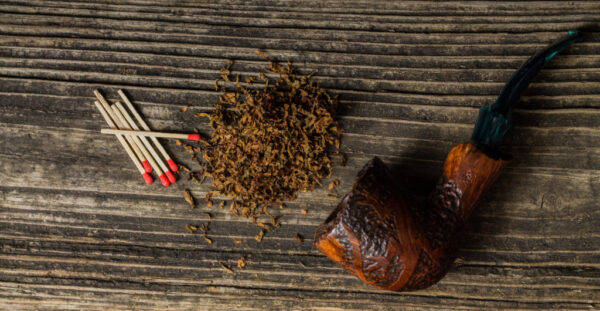
What You’ll Need
Before you begin, make sure you have the basics:
-
A clean pipe
-
Your chosen pipe tobacco
-
A tamper or pipe nail
-
Wooden matches or a pipe lighter
-
Pipe cleaners
Always start with a clean pipe. Use a pipe cleaner to clear the stem and remove any leftover ash or moisture from the last smoke. A clean airway is essential for consistent airflow.
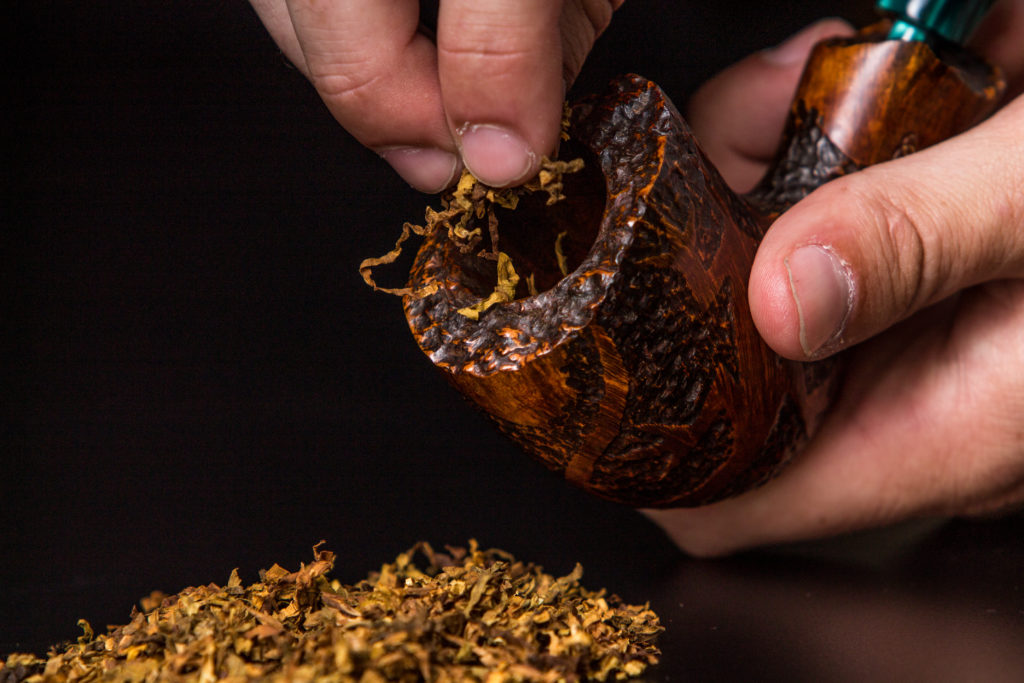
Step 1: Prepare the Tobacco
Open your tin or pouch and pinch out a small amount of tobacco. Gently rub it between your fingers to break up clumps and ensure even texture. This will help it pack more evenly and burn smoothly.
Check for moisture. The tobacco should feel slightly springy and barely damp to the touch. If it’s too wet, let it dry on a flat surface for about 10–15 minutes.
Step 2: Fill the Bowl
Begin by sprinkling loose tobacco into the bowl. Don’t press down yet—just fill it to the top gently. This first layer forms the foundation and helps with airflow.
Resist the urge to tamp as you go. Pressing prematurely can create uneven density, which causes hot spots and inconsistent burning.
Step 3: Tamp in Layers
Use the “three-layer” method, a classic technique for packing:
-
Layer One – Fill loosely to the top. Tamp lightly with your finger or tool until it’s halfway full.
-
Layer Two – Add more tobacco to fill to the top again. Tamp a bit more firmly this time, until the bowl is about 2/3 full.
-
Layer Three – Add a final layer to slightly overfill the bowl. Tamp more firmly to compress it to just below the rim.
When you’re done, perform a test draw. Place the pipe to your lips and gently inhale (without lighting). The draw should feel like sipping a drink through a straw—not too loose, not too tight. If it feels blocked or airy, start over.
Step 4: Light the Bowl
Use a wooden match or pipe lighter and begin with a false light (also called the charring light). Hold the flame just above the tobacco while puffing slowly and move the flame in a circular motion. The surface of the tobacco should expand slightly and may puff up.
Tamp down the raised tobacco gently and apply the true light. Repeat the same circular motion with your lighter, puffing gently to ignite the bowl evenly. Once lit, the tobacco should burn steadily with minimal relights.
Step 5: Enjoy the Smoke
Puff slowly and steadily. Pipe smoking isn’t a race—it’s a ritual. Too many quick puffs will overheat the bowl and result in a harsh, bitter smoke.
Use your tamper occasionally to press the ash down and maintain a consistent burn. If the pipe goes out, relight it without worry—it’s normal.
Final Tips for How to Pack a Bowl
-
Clean your pipe regularly to prevent sour flavors and blocked airflow.
-
Experiment with packing methods such as the gravity fill or Frank method to find what works best for your style.
-
Rotate your pipes if you smoke frequently to allow time for drying between uses.
-
Be patient. Like any skill, packing a pipe gets easier and more intuitive with practice.
Find Your Rhythm
Every smoker develops their own preferred method for how to pack a bowl. The key is consistency. Learn to read your pipe—if it’s hard to draw or burns unevenly, tweak your packing. In time, your senses will guide you, and packing your bowl will become second nature.
If you’re just getting started, you might also enjoy reading Tips for Breaking in a New Pipe for more insight on building a lasting, enjoyable smoking experience.