Want to know how to pack and light a pipe without frustration or wasted tobacco? Whether you’re a beginner or just looking to refine your technique, learning this essential process will improve every smoking session. Poor packing leads to harsh flavors, uneven burns, and leftover dottle, while improper lighting can frustrate even seasoned smokers.
In this guide, you’ll learn the correct tools, moisture levels, and technique to master the process and enjoy a slow, flavorful smoke.
What You’ll Need
Before you begin, gather these basics:
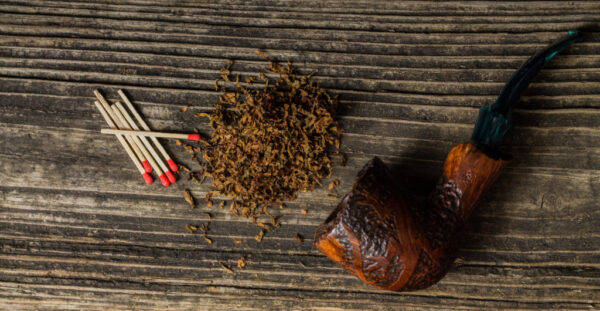
-
A clean pipe
-
A pipe tamper
-
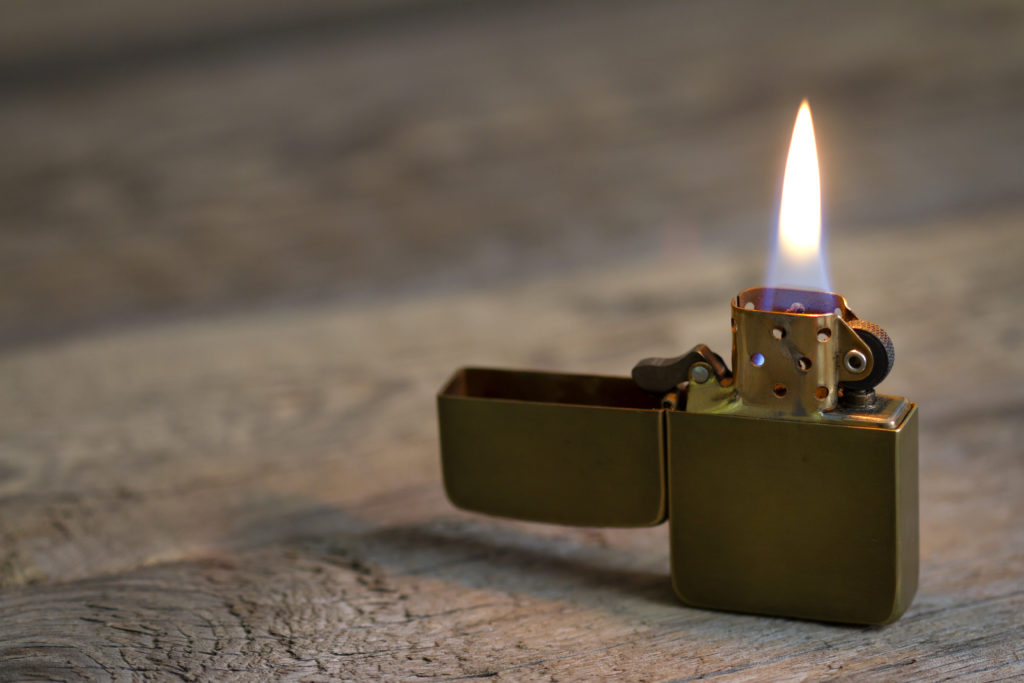
A pipe lighter or wooden matches
-
Pipe cleaners
These tools make the packing and lighting process much smoother and ensure a satisfying result.
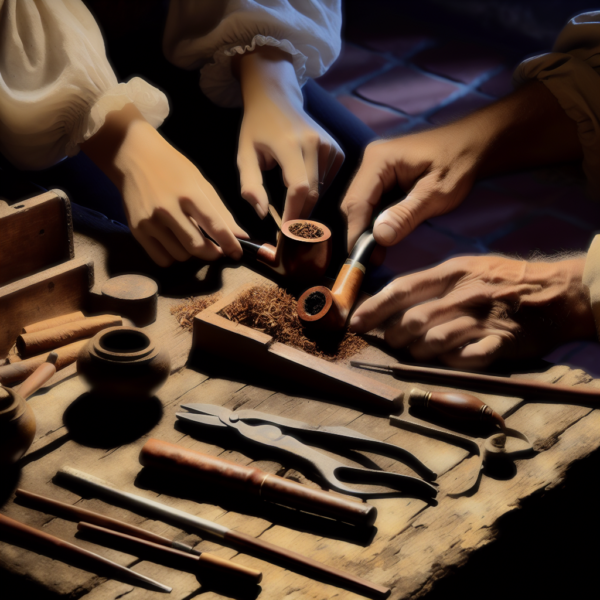
Step 1: Prepare Your Tobacco
Start by removing a pinch of tobacco from the tin or pouch. Lay it on a clean surface and gently rub it between your fingers to separate the strands. This loosens clumps, improves airflow, and helps prevent a tight or uneven pack.
If the tobacco feels too moist, let it dry for 10–15 minutes. Proper dryness is key—it should feel springy and pliable, not crunchy or damp.
Step 2: Pack Using the Three-Layer Method
The most reliable technique when learning how to pack and light a pipe is the three-layer method. It creates the right airflow for a slow, even burn.
-
First Layer – Sprinkle tobacco into the bowl until full. Gently press it down with your finger or tamper to about one-third of the bowl’s depth.
-
Second Layer – Add more tobacco and press it to two-thirds full. Use slightly firmer pressure this time.
-
Final Layer – Top off the bowl, leaving a small gap below the rim. Tamp it with moderate pressure—firm but springy.
Test the Draw
Put the pipe to your mouth and draw air through it before lighting. It should feel like sipping through a straw. If there’s too much resistance, it’s packed too tightly. Start over. If it’s too loose, add a little more and tamp gently.
Step 3: Light the Pipe Properly
Lighting is just as important as packing. Here’s how to do it the right way:
Perform the Charring Light
Use a wooden match or pipe lighter to apply flame in a circular motion across the surface of the tobacco. Puff lightly as you do. The tobacco will rise and char. This step helps expel extra moisture and prepares the bowl for an even light.
Tamp and Relight
Once the charring light is complete, tamp the top layer down gently. Then relight using the same circular motion and puff rhythm. The tobacco should now stay lit and burn evenly.
If it goes out, don’t worry—relighting is part of the process, especially for beginners.
Step 4: Maintain the Burn While Smoking
Take slow, steady puffs. Fast puffing creates heat and can cause tongue bite or a harsh smoke. Use your tamper occasionally during the session to maintain an even surface. If the draw loosens, tamp lightly again and relight if needed.
Pipe smoking is about relaxation. Keep your cadence slow and consistent.
Tips for Mastering Packing and Lighting
Here are a few extra tips to make your experience even smoother:
-
Don’t rush the process – Let the tobacco dry, pack slowly, and be patient when lighting.
-
Clean the pipe beforehand – A dirty stem or chamber affects both flavor and draw.
-
Use quality tobacco – Moisture content and cut make a difference. Avoid overly wet aromatics when starting out.
-
Hold the pipe at an angle – Especially when lighting, to ensure the flame spreads evenly.
-
Practice regularly – You’ll develop your own rhythm over time. Experience is the best teacher.
Why Packing and Lighting Matters
Learning how to pack and light a pipe properly is one of the most important steps to becoming a confident smoker. It affects draw quality, flavor balance, and your overall enjoyment of the bowl. While it may take a few attempts to perfect, every session becomes more enjoyable as you develop your technique.
A poorly packed bowl can result in leftover dottle, excess moisture, or the dreaded gurgle. On the flip side, a well-packed and evenly lit pipe rewards you with a cool, flavorful, and relaxing smoke.
Embrace the Ritual
Part of the pleasure of pipe smoking comes from the ritual—packing, tamping, lighting, and slowly enjoying every puff. Don’t rush it. With each bowl, you’ll learn more about your preferences, your pipe, and your tobacco.
Keep your tools clean, stay patient with the process, and remember that even experienced smokers relight their bowls. Enjoy the learning curve—it’s part of what makes pipe smoking such a timeless and rewarding tradition.
For more guidance on getting started, check out Tips for Breaking in a New Pipe and deepen your mastery of this classic craft.