Prepping tobacco for smoking is a crucial part of the pipe-smoking ritual. It’s not just about lighting up—it’s about laying the foundation for an enjoyable, flavorful session. When tobacco is prepped correctly, it burns evenly, delivers rich flavor, and helps you relax without fuss. Whether you’re just getting started or looking to refine your technique, this guide covers the essential steps for prepping tobacco for smoking.
Choosing the Right Blend
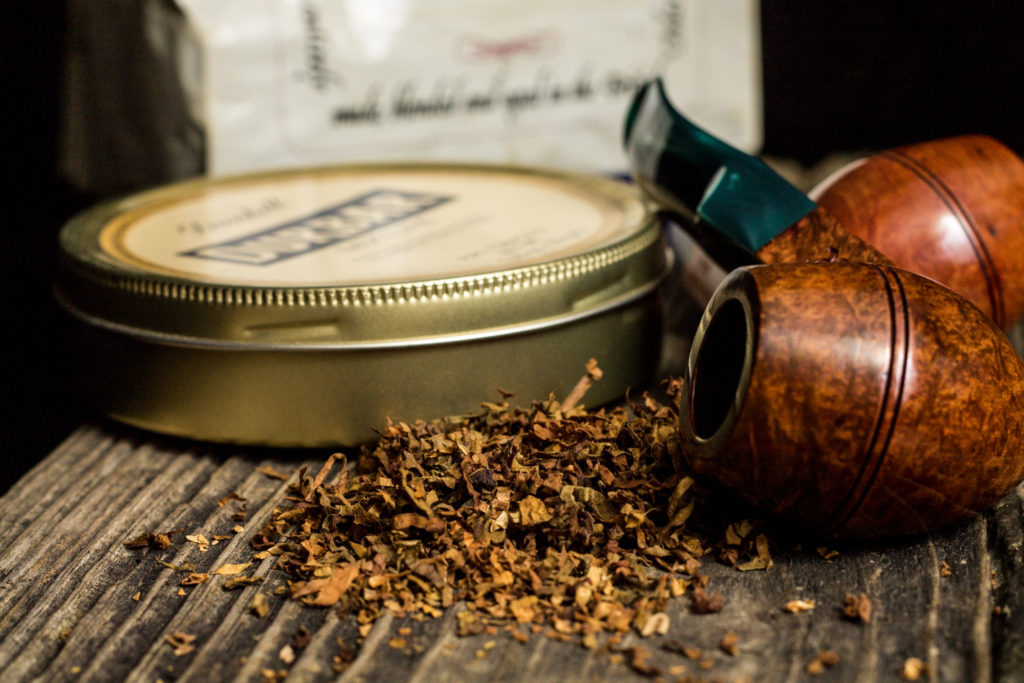
Every great smoke starts with the right tobacco. Your prep process will vary depending on whether you’ve chosen a ribbon, flake, plug, or shag cut. Aromatic blends offer sweet, fragrant smokes, while natural blends give you pure, earthy flavors. Take time to experiment. Find a few blends that suit your palate, then dial in your prep accordingly.
Moisture Matters
Moisture content can make or break your experience. If the tobacco is too dry, it burns hot and fast. Too moist, and you’ll be relighting constantly. Aim for a springy feel—it should bend between your fingers but not feel sticky. If it’s too damp, spread it out on a clean surface for 15–30 minutes before packing.
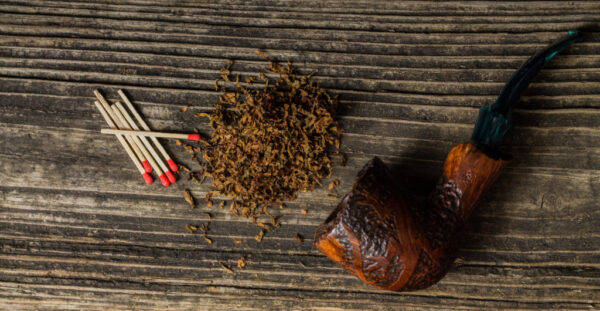
Cutting and Rubbing Out
Prepping tobacco for smoking often means rubbing out flakes or plugs to create a workable consistency. Use your fingers or a sharp blade to break down the tobacco into smaller pieces. This increases surface area, promotes airflow, and makes packing easier. Ribbon-cut tobacco usually doesn’t need much prep beyond a quick fluff.
The Three-Layer Packing Method
Many smokers swear by the three-layer method. Start by loosely sprinkling tobacco into the bowl until it overflows. Gently press it down to about halfway. Add more and press again until two-thirds full. Finish with a final layer, packed slightly firmer but still airy. When done correctly, you should feel a slight resistance when drawing through the stem—similar to sipping through a straw.
Drying Before You Light
Even after packing, tobacco may need a minute or two to breathe. Letting it sit packed in the bowl while you gather your lighter and tamper can help it dry just enough to light evenly. Prepping tobacco for smoking this way also enhances its flavor and prevents tongue bite.
Tamping and Lighting
Use a soft flame—like a pipe lighter or wooden match. Light the surface in a circular motion while taking steady puffs. This first ignition is the “charring light,” and you’ll likely need to tamp it gently and relight. Keep your tamp handy and use it lightly during the smoke to maintain an even burn.
Mastering Your Puffing Rhythm
A consistent, relaxed puffing pace makes a huge difference. Puffing too fast creates heat and harshness. Slow, gentle draws allow the tobacco to smolder rather than blaze. If the pipe goes out, relight it without frustration—it’s part of the process.
Troubleshooting Your Pack
If your pipe draws like a milkshake, it’s packed too tight. If there’s no resistance, it’s too loose. Don’t be afraid to dump it and start again. Getting a perfect pack takes practice. Over time, you’ll learn how each blend behaves and how much pressure it needs.
Post-Smoke Maintenance
Let your pipe cool completely before cleaning. Then, run a pipe cleaner through the stem and gently scrape out the bowl. Keeping your pipe clean not only improves flavor—it also extends its life. Regular maintenance should be part of every session.
Final Thoughts on Prepping Tobacco for Smoking
Prepping tobacco for smoking is more than a checklist—it’s a craft. As you grow more experienced, you’ll develop your own techniques and preferences. The more attention you pay to moisture, cut, packing, and rhythm, the more rewarding your smoke will be.
If this process feels overwhelming at first, don’t worry. Like any ritual, it becomes second nature. Soon, prepping tobacco will feel as natural and relaxing as smoking itself.
For more beginner tips, be sure to check out Smoking Pipe Recommendations for Beginners, where we walk through your best options for getting started with style and confidence.