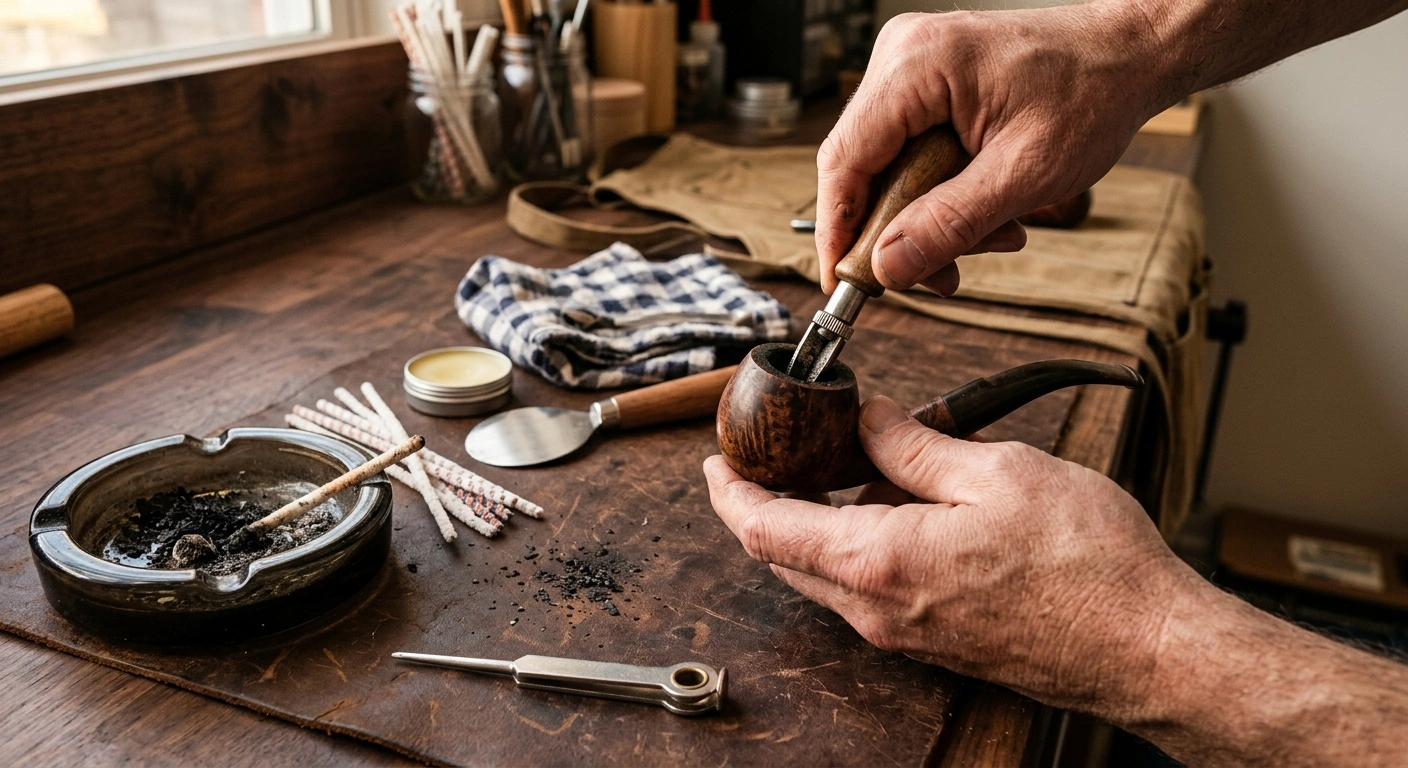
This pipe reamer guide explains how to keep carbon cake inside a tobacco pipe thin, even, and manageable. A reamer removes hardened buildup while preserving the chamber walls and original bowl shape. Excessive or uneven cake can place damaging pressure on briar as the pipe heats and cools.
Careless reaming can scratch the chamber, widen the rim, or expose bare wood. Work slowly on a cool, dry pipe. Remove a little carbon, inspect the chamber, and stop while a thin lining remains. Beginners should choose a stable reamer that follows the chamber instead of relying on a sharp freehand blade.
Pipe smoking causes serious health risks, including cancers of the mouth, throat, and lungs. These risks remain even without inhaling. In the United States, federal law prohibits tobacco sales to anyone younger than 21.
Why a Tobacco Pipe Needs Reaming
Repeated smoking creates a hard carbon layer inside a briar chamber. Pipe smokers call this layer cake. It differs from the loose gray ash left after a bowl.
A thin, even cake can shield briar from direct heat and may help the pipe burn consistently. Problems begin when the layer grows thick, develops ridges, or accumulates unevenly.
Carbon and briar react differently to heat and moisture. Heavy cake can press against the wood as the bowl warms. In a vulnerable pipe, that pressure may contribute to a chamber crack. Thick buildup also reduces capacity and makes packing less predictable.
Reaming restores working space while preserving a modest carbon lining. Routine maintenance rarely requires stripping a sound briar chamber to bare wood.
Pipe Reamer Guide to the Main Tool Types
Pipe reamers range from fixed cutters to adjustable tools with several moving blades. The right design depends on the chamber shape, cake thickness, and user experience. A cutter that suits a cylindrical chamber may not reach the lower walls of a conical bowl.
Beginners should prioritize stability, close size matching, and shallow cuts. No single reamer fits every pipe. Heavily tapered chambers may require both a reamer and a rounded scraper.
| Reamer type | Best suited to | Main advantage | Main drawback |
|---|---|---|---|
| Fixed-size cutting head | Regular cylindrical or gently tapered chambers | Stable and easy to size in stages | May not follow unusual chamber shapes |
| Adjustable multi-blade reamer | A range of medium and large chambers | Expands gradually to meet the cake | Can cut unevenly when tilted or opened too far |
| T-handle or expanding reamer | Controlled removal in regular bowls | Provides leverage and central alignment | Excess leverage encourages aggressive cutting |
| Spoon scraper | Touch-ups, chamber bottoms, and tapered areas | Provides direct feel and local control | Does not automatically preserve a round chamber |
| Pipe knife | Minor scraping by experienced users | Compact and useful for small corrections | Can gouge wood or create flat spots |
Fixed-Size Reamers
A fixed-head set usually includes several cutters with increasing diameters. Start with the smallest head that contacts the cake. Move to larger heads only when necessary. This staged method limits sudden cuts and helps keep the tool centered.
Fixed heads work well when thick buildup has narrowed the chamber opening. However, each head has a set profile that may not match a deep conical bowl. A cutter can fit near the rim while missing cake farther down.
Never force a larger head because the previous size failed to reach the lower chamber. Instead, finish those areas gently with a smaller cutter or rounded scraper.
Adjustable and Expanding Reamers
An adjustable reamer starts narrow and expands until its blades touch the cake lightly. It can handle several bowl sizes without separate cutting heads. Choose a mechanism that opens smoothly, holds its setting, and shows little sideways play.
Expand the blades in small increments between light passes. Do not open the tool aggressively inside the chamber. That movement can wedge the reamer into hard cake or drive a blade into the wood.
Keep the shaft aligned with the chamber. A tilted tool often removes extra material near one side of the rim. You should feel a light, consistent scrape rather than a hard bite.
Scrapers and Pipe Knives
A spoon-shaped scraper reaches areas that a conventional reamer may miss, especially near a rounded heel. Its curved end can shave raised patches while transmitting useful feedback through the handle. Use short strokes rather than long cuts from the heel to the rim.
A pipe knife requires more restraint and does not make a good primary tool for beginners. An ordinary pocketknife creates greater risk. Its point can dig into briar, while its flat blade cannot follow a round chamber.
Sandpaper wrapped around a finger also offers poor control near the rim and heel. If you lack a suitable reamer, wait until you have the proper tool. Improvising with a blade can permanently alter the chamber.
Features to Check When Choosing a Pipe Reamer
A useful reamer should feel secure in the hand and turn without straining the wrist. Look for centered cutting heads and mechanisms that do not rattle under light pressure. The available sizes should cover your pipes, but the smallest setting deserves special attention.
A restricted chamber needs a cutter that enters without force. Rounded or gently tapered cutting profiles often fit more chamber shapes than sharply cylindrical heads.
Blade condition matters as much as tool design. Dull blades can skid, compress the cake, or encourage excessive pressure. Damaged edges may score the chamber. Sharp corners can also catch on irregular carbon.
Choose a clean scraping edge rather than a knife-like point. Wipe metal parts after use. If the tool has an adjustable mechanism, keep oil away from surfaces that enter the chamber.
What to Prepare Before Reaming
- A clean pipe reamer that fits the chamber
- A rounded chamber scraper for small corrections
- White pipe cleaners
- A soft cloth
- A bright directional light
- A proper ashtray or tray for carbon debris
- Optional eye protection for brittle, flaking cake
Let the pipe cool completely, then remove all loose tobacco and ash. Never ream a pipe immediately after smoking it. Warm briar may suffer damage more easily, and hidden embers create a fire risk.
Tap loose ash into a proper ashtray without striking the pipe against a hard surface. Next, inspect the chamber under bright light. Look for thick ridges, exposed wood, cracks, soft areas, and cake that has lifted from the wall.
A musty odor or pale, fuzzy growth may indicate mold rather than ordinary carbon. That problem requires separate assessment. Keep routine reaming dry because alcohol and other solvents do not make cake safer to remove.
How to Use a Pipe Reamer Safely
Safe reaming should feel controlled and uneventful. Keep the reamer aligned while its edges skim away thin layers of carbon. Trying to finish in one cut increases the risk of chatter, wedging, and contact with briar.
Work over a tray so you can contain and inspect the debris. Stop immediately if the tool binds, tilts, or creates wood-colored shavings. Black or dark brittle particles usually indicate carbon. Reddish or light brown dust may show that the cutter has reached briar.
- Empty the bowl. Tip cold ash and loose tobacco into a proper ashtray. Continue only after removing all loose material.
- Inspect the cake. Shine a light into the bowl and locate thick or uneven areas. Distinguish hard carbon from exposed or lightly coated wood.
- Select the smallest suitable cutter. Choose a head that enters without pressure. It should touch some cake without wedging at the rim.
- Center the reamer. Align the shaft with the chamber rather than the bowl’s outside angle. Check for an even gap around the tool.
- Turn with light pressure. Rotate the tool slowly according to its design. A controlled cut produces small flakes without jerking.
- Withdraw the tool often. Remove it after a few turns. It should exit freely without dragging against the chamber wall.
- Remove the debris. Tip loose carbon into the ashtray. Inspect the newly exposed surface under bright light.
- Increase the size gradually. Fit the next fixed head or expand the blades slightly. Stop increasing when the cutter contacts the remaining cake.
- Blend raised patches. Use a rounded scraper with short, controlled strokes. Preserve the chamber’s taper and rounded heel.
- Leave a thin lining. Stop when the chamber looks even. Avoid creating broad areas of freshly exposed briar.
- Clear the airway. Pass a pipe cleaner through the stem and draft channel without forcing it. Remove any loose carbon fragments.
- Rest the pipe. Place it in a rack until dust and stale odors disperse. Use it again only when the chamber feels dry and clean.
Controlling Fixed and Adjustable Reamers
With fixed cutters, start at the smallest practical size and move upward one head at a time. Never rock the head sideways to widen its cut. That motion can turn a round chamber into an oval one.
Insert an adjustable reamer at its narrow setting. Increase the diameter only in small steps between passes. Avoid forcing the blades outward while they remain buried in hard cake.
Hold a spoon scraper securely and keep its cutting edge at a shallow angle. Use it to blend ridges, not carve a new chamber profile. The pipe’s exterior does not always reveal the internal shape, so inspect the chamber often.
Special Care for Briar, Meerschaum, and Corncob Pipes
Most routine reaming advice concerns briar pipes. Briar commonly retains a controlled carbon layer, but it does not need heavy cake. Light maintenance offers more control than removing a thick, hardened deposit.
Newer briar pipes may contain dark factory chamber coatings. Do not mistake these coatings for excessive cake. Scraping them without cause can expose the chamber unnecessarily.
Meerschaum Pipes
Do not allow substantial cake to develop in a meerschaum pipe. Thick carbon may interfere with the material’s smoking properties and place pressure on the fragile bowl. Sharp expanding reamers can chip meerschaum.
Use only very gentle scraping if you understand the material. Ask an experienced repairer to handle an old, thin, or valuable meerschaum.
Corncob, Clay, and Lined Pipes
Corncob chambers require a light touch because their surfaces remain softer and less uniform than briar. An aggressive cutter can remove cob along with the carbon. Many cobs need only gentle removal of loose residue before a thick layer forms.
Clay pipes and bowls with unusual liners may react differently to cutting tools. Follow the maker’s instructions instead of treating them like briar.
Common Pipe Reaming Mistakes
The most common mistake involves treating bare wood as the goal. Some repairs require complete cake removal, but routine maintenance usually leaves a thin lining in sound briar. Stop before large areas of fresh wood appear.
Do not choose a cutter by rim diameter alone. A wide cutter can stick inside a sharply tapered chamber or remove too much from the upper walls.
Tilting the handle creates uneven pressure and may bevel the rim from inside. Heavy force causes similar trouble because a reamer should scrape rather than drill. Light-colored dust often signals contact with briar, so stop and inspect immediately.
Pay attention to the heel. Some users leave a thick shelf at the bottom while removing too much cake near the rim. Preserve the chamber’s original taper instead of making every section equally wide.
Never use heat to soften the carbon or household cleaners to loosen it. Heat can damage the finish, stem, adhesive, or chamber. Harsh chemicals may leave unwanted residue.
If a broader restoration requires alcohol, work with ventilation and keep all flames away. Never mix cleaning chemicals. Protect the exterior finish unless the repair method specifically calls for alcohol contact.
How to Clean and Store a Pipe Reamer
Carbon on a cutter can hide corrosion, clog moving parts, and transfer stale residue to another pipe. Clean the tool before debris hardens in its joints. A cloth or stiff nonmetal brush will remove most dry carbon.
Do not immerse the tool unless its manufacturer allows it. Water can damage some handles, finishes, and internal mechanisms. If you use moisture, dry every metal surface and joint completely.
Keep oil and cleaning residue away from blades that enter the tobacco chamber. Adjustable parts should move smoothly, but lubricate them only according to the maker’s directions.
- Brush away loose carbon. Clear visible flakes from every cutting edge.
- Wipe the blades. Use a dry cloth until little or no black residue transfers.
- Check the mechanism. Open and close adjustable parts gently. Watch for rough movement or sideways wobble.
- Dry the tool. Remove moisture from blades, joints, and handles before storage.
- Protect the edges. Close the reamer or return it to its case. Keep exposed cutters away from other accessories.
When to Take a Pipe to a Repairer
Do not use a valuable estate pipe to learn how much pressure a chamber can tolerate. Seek professional help if you find cracks, burned areas, soft wood, severe asymmetry, or large plates of detached cake.
A repairer should also examine chambers with unusual airway placement or an unclear internal shape. Dark lines may represent carbon staining, heat damage, or an actual crack. An experienced inspection can distinguish among them.
Stop if the reamer becomes firmly stuck. Do not twist harder or pull it sideways. Excess leverage can split the bowl or damage the tool, especially near a thin rim.
Older meerschaums, thin-walled briars, and collectible handmade pipes deserve extra restraint. Professional work costs less than permanently changing the geometry of an irreplaceable chamber.
Light Maintenance Prevents Heavy Reaming
Inspect the chamber under good light before the cake becomes thick and irregular. Early maintenance takes less force and gives you better control. After each smoke, let the pipe cool completely before removing loose residue.
Empty fully extinguished ash into a proper ashtray. Never leave a lit pipe unattended or strike the bowl against a hard edge.
When reaming becomes necessary, patience matters more than leverage. Choose a stable tool, keep it centered, and make several light passes. This pipe reamer guide provides a practical checklist, but the chamber itself tells you when to stop.
A successful job leaves a thin, even cake and preserves the original chamber shape. If you see exposed wood, cracks, or structural damage, stop and consult a qualified pipe repairer.